7. Everest Cast Playlists
In Everest Cast, playlists are the core of the AutoDJ system, allowing you to organize your music library and schedule when different sets of music play on your station.
Key Features and Management
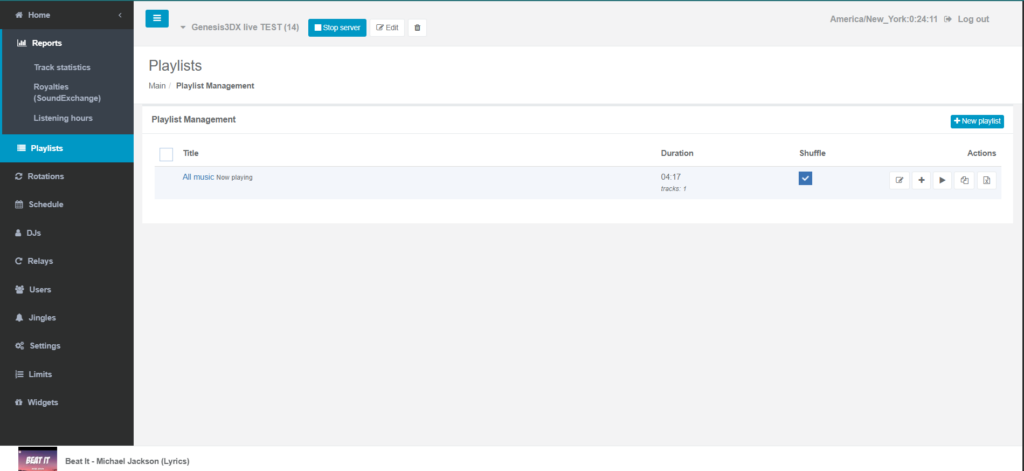
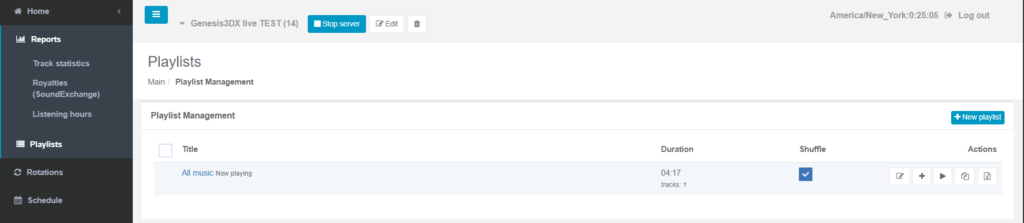
1. The “All Music” Playlist
By default, all tracks uploaded to your account are automatically added to the “All music” playlist, which plays 24/7 until you define a different schedule. This default playlist cannot be removed.
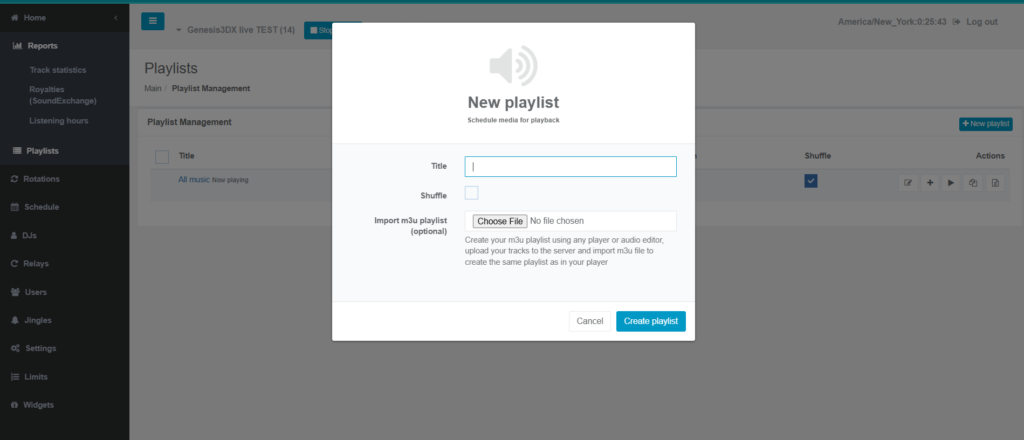
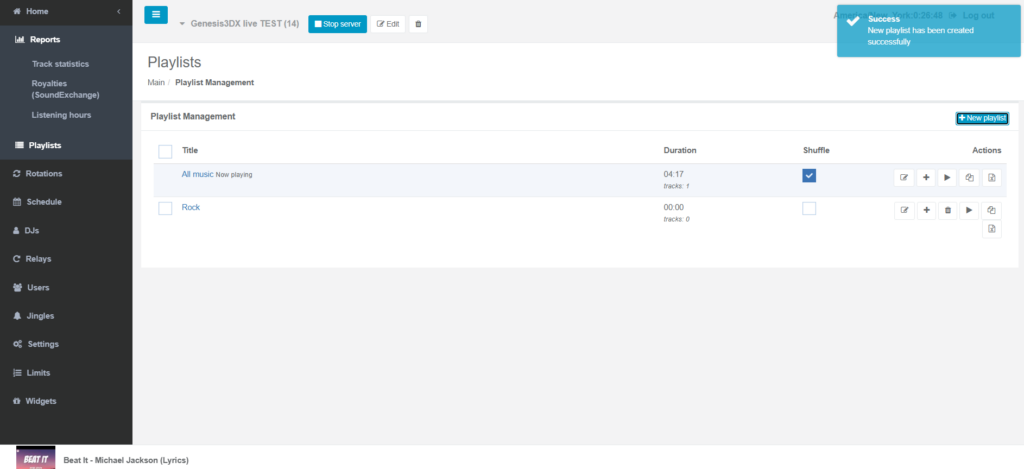
2. Creating New Playlists
You can create an unlimited number of custom playlists to organize your content (e.g., “Morning Show,” “Rock Block,” “Jingles”).
- Access: Navigate to the “Playlists” section in your left-hand menu.
- New Playlist: Click the “New playlist” button, enter a title, and choose settings like shuffle mode (plays in random order) or sequential play.
- Adding Tracks: Open the new playlist, navigate to your audio files, and drag and drop the desired tracks into the playlist area. You can also manage playlists by creating directories via FTP.
- Click on the “Playlists” menu item in the left-hand navigation.
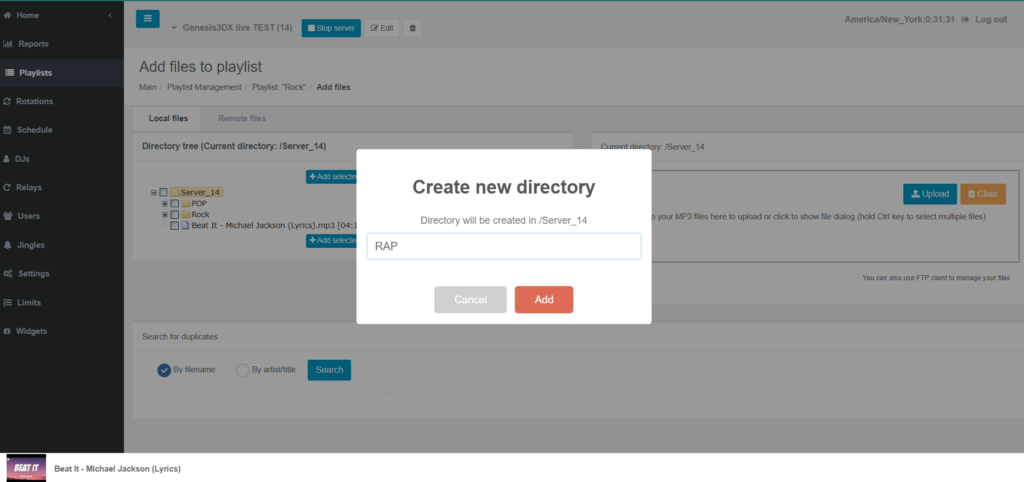
- Click the “Add Files” (+) icon next to a playlist name (or the default “All music” playlist) to open the File Manager window.
- In the left pane of the File Manager (the directory tree view), select the parent folder where you want to add a subfolder.
- Click the “Create sub-folder” button (often an icon resembling a folder).
- Enter the name for your new subfolder and click Add.
- To upload files into this specific subfolder, click on the new subfolder in the directory tree. The “Current folder” label in the upload area will change to show you are uploading to that location.
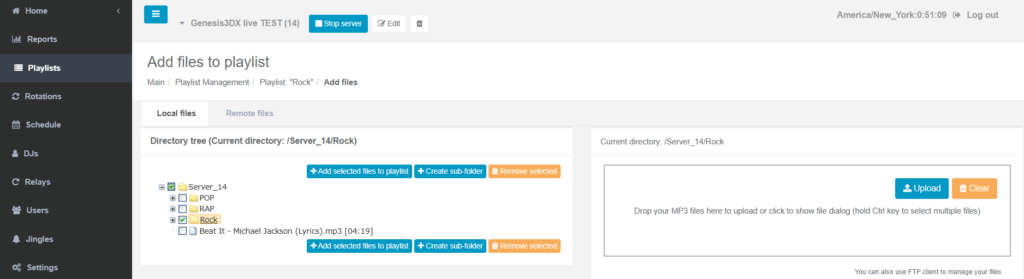
Make sure top right says subfolder name

- Drag and drop your files into the upload zone or use the “Browse” button, then click “Upload”.
Method 2: Using an FTP Client (Recommended for Mass Uploads)
Using an FTP client like FileZilla is the most efficient way to upload multiple files while maintaining your existing folder structure.
- Get your FTP credentials:
- In your Everest Cast panel, go to the “Users” menu.
- Scroll down to find your FTP Hostname, FTP Username, and note that your main panel login Password is also your FTP password.
- Connect using an FTP Client:
- Open your FTP client (FileZilla, Cyberduck, etc.).
- Enter the Hostname, Username, and Password in the connection fields.
- Click “Connect”.
- Upload the folders:
- Navigate to your local music files on the left side of the FTP client.
- Navigate to the main media directory on the server side (right side).
- Drag and drop entire folders from your computer into the server’s directory. The FTP client will automatically recreate the subfolder structure on the server and upload all files within them.
Once uploaded via either method, the Everest Cast system automatically processes the files and makes them available to add to your playlists. You can also enable a setting that automatically creates playlists based on your FTP directory structure.
In Everest Cast, rotations (also referred to as the “Playlist playback mode”) determine how your AutoDJ selects and orders tracks to ensure a dynamic and professional mix without excessive repetition or dead air.
There are two primary methods for managing rotations:
1. Playlist Playback Mode (Circular vs. Play Once)
When you schedule an event in the Scheduler section, you define the rotation behavior for that specific playlist:
- Circular Mode: The playlist plays in a loop (either sequentially or shuffled) until the next scheduled event begins. This is ideal for general music blocks that fill several hours of programming.
- Play Once from Start to End: The playlist plays all tracks exactly once. When it finishes, you must specify a different “fallback” playlist to start immediately after, preventing dead air.
2. Shuffle and Order Control
The primary way to manage the rotation of individual songs within a playlist is through the Shuffle setting:
- Shuffled: Tracks are played in a random order, providing a varied mix. Everest Cast Pro has improved randomization algorithms to ensure better mixing.
- Sequential: Tracks play in the exact order you have defined in the playlist manager. You can drag and drop tracks to reorder them manually
3. Preventing Repetition
A key aspect of rotations is ensuring a good mix. Everest Cast offers settings to prevent repetition:
- Same Artist/Track Protection: In the Settings menu, you can configure a rule that prevents the same artist (or even the same track or album) from playing within a specified number of tracks or period of time. This is an essential step for a better listener experience.
4. Jingle and Request Rotations
You can also integrate jingles and song requests into your main music rotations:
- In the Settings or Scheduler event configuration, you can set the interval for jingles (e.g., play a jingle every 5 tracks) or song requests. This ensures these items are rotated into the main programming mix automatically.
By combining these settings, you can ensure your station always has a fresh and varied sound without manual intervention
Scheduling Playlists
The “Scheduler” section is where you control when your playlists go on air.
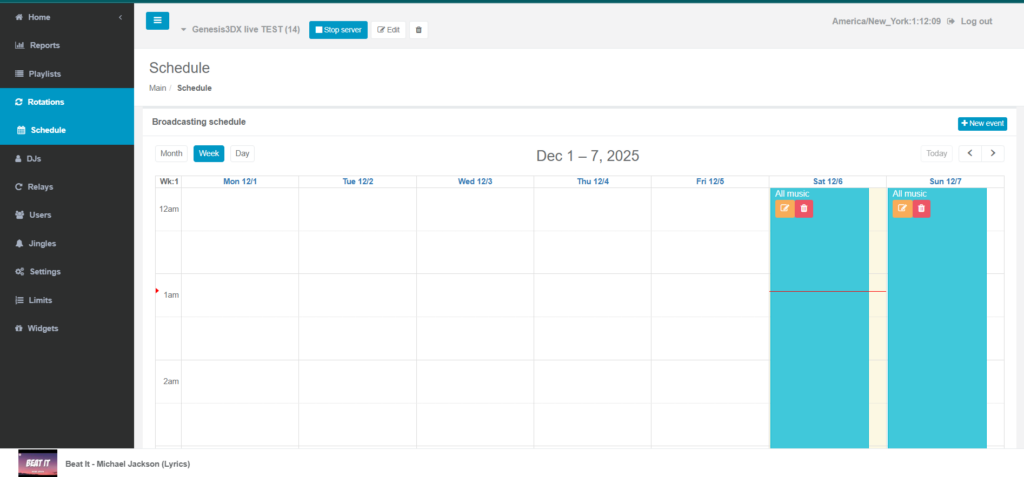
- Events: You create “events” on a calendar that trigger a specific playlist to start at a set time.
- Event Types: Events can be one-time occurrences or recurring (e.g., play the “Morning Show” playlist every weekday at 8 AM).
- Playback Modes: You can set a playlist to play in a circular loop until the next scheduled event begins, or to play once from start to end.
- Jingle Integration: Within the schedule settings, you can choose whether to allow jingles and song requests to interrupt the currently playing playlist.